


![Building A Digital PR Strategy: 10 Essential Steps for Beginners [With Examples]](https://buzzsumo.com/wp-content/uploads/2023/09/Building-A-Digital-PR-Strategy-10-Essential-Steps-for-Beginners-With-Examples-bblog-masthead.jpg)


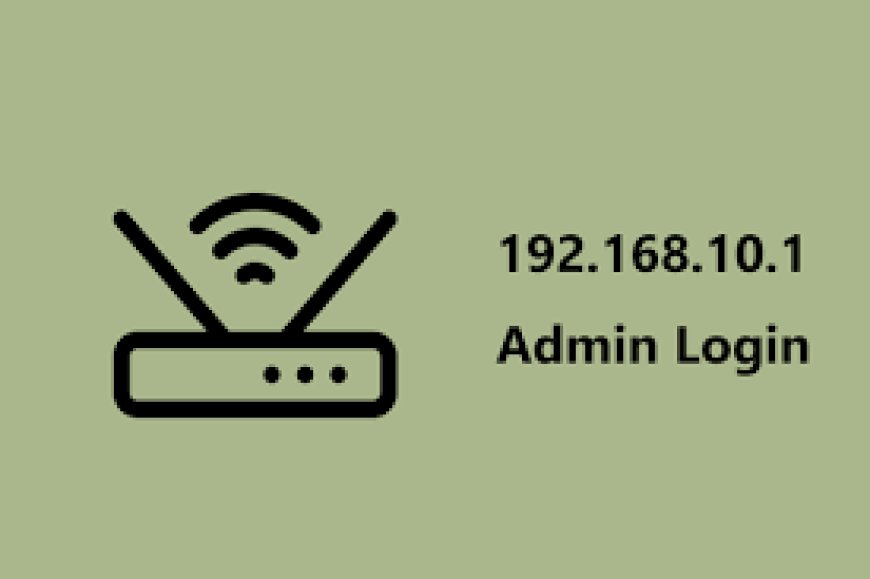
How to Log In and Configure AP.Setup via 192.168.10.1 at Home
Access WiFi extender settings with step-by-step guide to ap.setup and 192.168.10.1, learn how to configure and optimize extender.
You've just got your new WiFi range extender, and now you're looking at that note with 'ap.setup' or '192.168.10.1' written on it.
Don’t worry—you're not alone. Setting up a WiFi extender might sound intimidating, but once you understand how the ap.setup and 192.168.10.1 Wifi repeater login work, the whole process becomes a breeze. This guide walks you through it all—plain and simple.
Why You’re Seeing Ap.setup and 192.168.10.1?
When you buy a WiFi extender, you’ll often be asked to go to ap.setup or type in 192.168.10.1 in your browser to access the configuration page. This is how you log into the extender’s dashboard—think of it as the command center for your device.
Now, here’s the key thing:
-
Ap.setup only works when you're connected to the extender’s WiFi network.
-
192.168.10.1 is the default IP address used if the domain doesn’t work.
Knowing the difference helps avoid unnecessary frustration later.
Part 1: Before You Start – Quick Checklist
Before you jump into the actual setup, make sure you have the following:
-
Your WiFi extender (plugged in and powered on)
-
A laptop or smartphone with WiFi
-
Your home WiFi network name and password
Bonus tip: Place the extender midway between your router and the area with poor WiFi coverage. You’ll get the best results that way.
Part 2: Connecting to the Extender WiFi Network
-
Power on the extender.
Plug it into a wall socket. Wait for the power light to become stable. -
Connect your device to the extender’s default WiFi.
This might be called something like Wavlink_Ext or Wireless-N. There’s usually no password at first, or it’s printed on a sticker on the device. -
Open a browser and go to http://ap.setup or 192.168.10.1
If ap.setup doesn’t load, try the IP address. They both lead to the same login portal.
Part 3: Logging In – Username & Password
When the login page loads, you’ll usually see a simple username and password box.
-
Default Username: admin
-
Default Password: admin (or blank in some cases)
Type them in and hit Login.
Still can’t get in? Try resetting the extender by holding the reset button for 10 seconds, then start again.
Part 4: Setting Up the Extender (Step-by-Step)
Once you're logged in, here's what you do:
-
Choose “Repeater Mode” or “Range Extender Mode”
This tells the device you’re using it to boost WiFi—not as a new router. -
Select your existing WiFi network
A list of available networks will pop up. Click on your home WiFi. -
Enter your main WiFi password
This is important. If you type it wrong, the extender won't connect and you’ll need to redo everything. -
Assign a name for the extended network
You can either keep the same network name (SSID) or give it a new one like Home_WiFi_EXT to identify it easily. -
Save and apply settings
The extender will reboot, and it may take a couple of minutes. Once it's back online, connect your device to the new extended network and test the connection.
Part 5: What If ap.setup or 192.168.10.1 Doesn’t Work?
This happens a lot—don’t panic.
Here are a few common fixes:
-
Check your WiFi connection. Make sure you’re connected to the extender’s WiFi, not your regular home network.
-
Try using a different browser (Chrome, Firefox, Safari).
-
Clear browser cache or try Incognito Mode.
-
Use the IP address (192.168.10.1) instead of ap.setup.
-
Reset the extender if nothing works. Hold the reset button for 10-15 seconds with a paperclip.
Part 6: Tips to Improve Extender Performance
Now that you're set up, here are some tips to get the best out of your extender:
-
Don’t place it too far from your router. You want it to still receive a strong signal from the source.
-
Avoid interference. Keep it away from microwaves, cordless phones, and thick walls if possible.
-
Reboot it occasionally. Just like your phone, extenders benefit from a fresh start now and then.
-
Change the admin password. For security reasons, always update the default login credentials.
Conclusion
And there you have it—the full ap.setup and 192.168.10.1 login and setup guide broken down into simple steps.
Whether you’re setting up a Wavlink repeater or any other brand that uses this interface, the process is pretty much the same. It’s all about connecting to the right network, logging into the dashboard, and following the prompts.
If something doesn’t work the first time, don’t stress. WiFi extenders can be a little temperamental, but once you get the hang of it, it’s a smooth sailing.