


![Building A Digital PR Strategy: 10 Essential Steps for Beginners [With Examples]](https://buzzsumo.com/wp-content/uploads/2023/09/Building-A-Digital-PR-Strategy-10-Essential-Steps-for-Beginners-With-Examples-bblog-masthead.jpg)


Macard WiFi Extender Setup Made Simple: Android User’s Guide
Macard WiFi Extender Setup Made Simple
A Macard WiFi extender can be a game-changer, but getting it set up correctly with your Android device is crucial for optimal performance. This step-by-step guide for the macard WiFi extender empowers you to take control of your Wi-Fi coverage in your home.
Set Up Your Macard WiFi Extender via Android
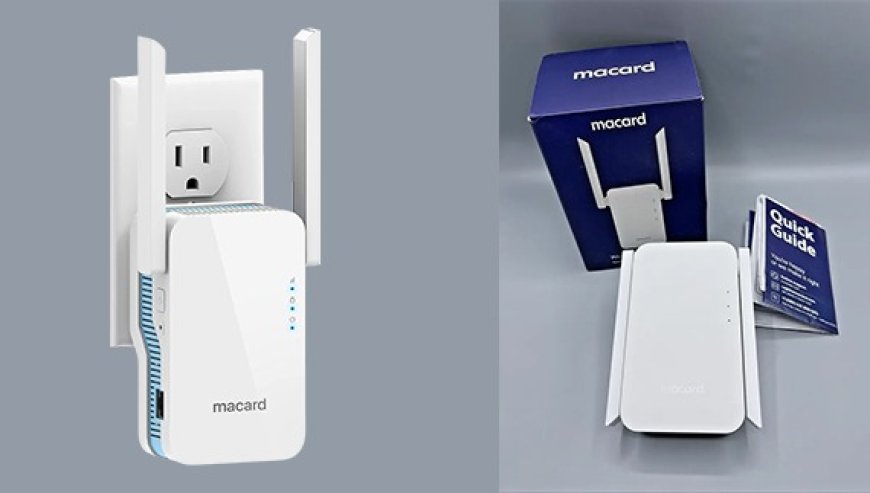
The first thing you have to do is plug the Macard extender into a power outlet near your router. Wait for the Power LED to turn solid (usually within 1–2 minutes).
Then, you have to connect your phone with the help of the extender default SSID credentials given on the label of device. To connect:
-
go to Settings > WiFi, on your Android device.
-
Look for a network name like Macard_EXT, WiFi_Repeater.
-
Tap to connect (no password may be required at this stage).
Now, follow these below given instructions to set up your Macard WiFi extender through your phone’s web browser:
Via Phone’s Web Browser
-
Open any browser on your Android. In the address bar, type the default IP address 192.168.10.1 and press Enter. This opens the Macard setup page.
-
Use the default Macard extender login credentials which are usually:
Username: admin
Password: admin -
On the dashboard, select Repeater Mode or Extender Mode. It will scan for nearby WiFi networks.
-
The extender will search for nearby Wi-Fi networks. Select your home Wi-Fi network. Type in the password for your home Wi-Fi network.
-
You can usually keep the same name as your router's Wi-Fi like "-EXT" or choose a new name.
-
Once you've configured the necessary settings, click Save button. The extender will likely to restart to apply the settings and complete the setup.
Connect Android Again with Extender’s Network
When the extender restarts, go back to the Wi-Fi settings on your Android device. You should now see the extended Wi-Fi network name you set up. Connect to this network using the password you configured.
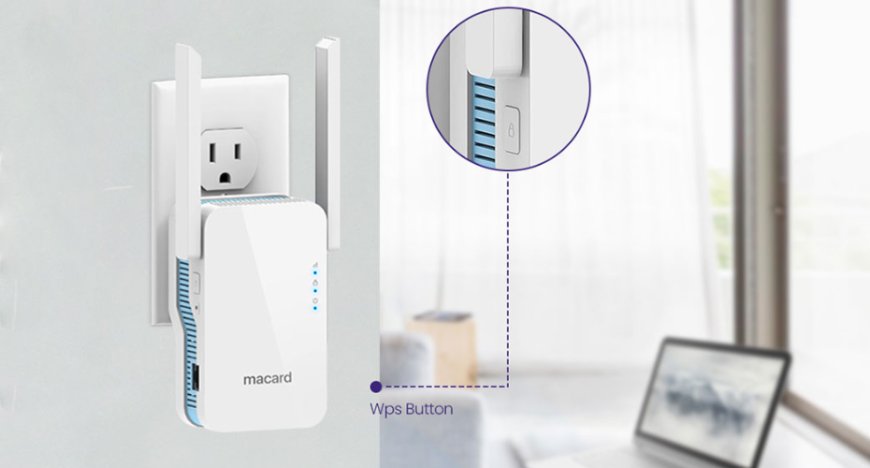
Via WPS if Don’t Want to Use Any Device
-
Plug your Macard WiFi extender into a power outlet near your router. Wait for the power LED to light up.
-
Locate the WPS button on your main WiFi router. Press and hold it for 2–3 seconds. The WPS LED on the router should start blinking.
-
Within 2 minutes, press and hold the WPS button on the extender for 2–3 seconds. The extender’s WPS LED should also begin blinking.
After a successful WPS connection, your devices might automatically connect to the extended network. The credentials often have the same name and password as your main Wi-Fi to connect. If not, manually connect to your original Wi-Fi network; the extender should now be broadcasting a stronger signal in its new location.
Where to Place the Extender After Finishing the Setup?
Once you have finished the Macard extender setup, you can unplug the extender and move it to a location that's roughly halfway between your router and the area where you need better Wi-Fi coverage. Make sure it's still within range of your router's signal.
Troubleshooting Tips for Setup
Try Different Setup method if one did Not Works
If the connection fails, try the WPS process again from step 2. Make sure your router has WPS enabled (some newer routers disable it by default). If WPS isn’t working, use the web-based setup method instead.
Update Extender Firmware Regularly
Keeping the firmware up-to-date can improve performance and security. To update the extender firmware, access the device interface using the IP 192.168.10.1. find and open the firmware tab in the settings and click UPDATE button.
Placement of the Extender Must be Optimal
The extender needs to be placed where it receives a good signal from your main router to effectively extend the range. If the signal between the router and extender is weak, the extended network will also be weak.
Factory Reset If Multiple Issues Encounter at the Same Time
You might need to reset your extender to its factory default settings if you are facing multiple technical problems. This usually involves pressing and holding a small Reset labeled
button often located in a pinhole. The button should be hold for about 10 seconds while the extender is powered on.
The End Words
With just a few taps on your Android device or a push of the WPS button, you can extend your WiFi signal and eliminate dead zones. Hope you have followed simple setup steps given above using the Android phone and completed the setup.


