


![Are AI Chatbots Replacing Search Engines? AI vs Google [New Research]](https://www.orbitmedia.com/wp-content/uploads/2025/05/How-often-are-we-using-AI-chatbots_.webp)


How to Cut Baking Paper to Fit Different Baking Tray Shapes
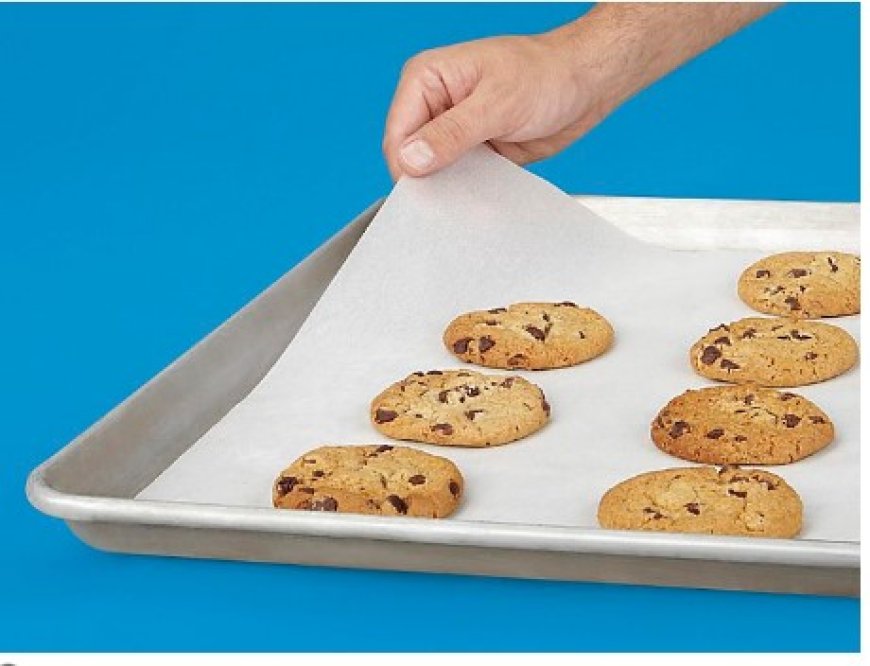
Baking Paper
Baking is an essential part of many kitchens, and using baking paper is a common practice to prevent sticking and ensure easy cleanup. However, cutting baking paper to fit different baking tray shapes can be a challenge for many home bakers. In this guide, we will explore various techniques and tips to help you cut baking paper effectively, ensuring a perfect fit for your trays.
Understanding Baking Paper
Baking paper, also known as parchment paper, is a non-stick, heat-resistant paper used in baking. It comes in rolls or pre-cut sheets and is ideal for lining baking trays, cake pans, and muffin tins. Using baking paper not only makes for easy removal of baked goods but also simplifies cleanup.
Types of Baking Paper
-
Parchment Paper: This type is coated with silicone, making it non-stick and heat-resistant. It’s suitable for most baking tasks.
-
Wax Paper: While not heat-resistant, wax paper is useful for tasks such as rolling out dough or wrapping food.
-
Silicone Baking Mats: These reusable mats are an excellent alternative to baking paper and can be cut to fit various shapes.
Why Use Baking Paper?
Using baking paper has several benefits:
-
Non-Stick Surface: It prevents food from sticking to the tray, making it easier to remove baked goods.
-
Even Baking: It can help distribute heat evenly, leading to better results.
-
Easy Cleanup: It minimizes the mess and makes washing trays easier.
Measuring Your Baking Tray
Before cutting baking paper, you need to measure your baking tray accurately. Follow these steps:
-
Gather Your Tools: You’ll need a ruler or measuring tape, scissors, and a pencil or pen for marking.
-
Measure the Tray Dimensions: Measure the length and width of the tray. If it has high sides, measure the depth as well.
-
Consider the Shape: If your tray is round, oval, or a specific shape, note these dimensions carefully.
Rectangular and Square Trays
For rectangular or square baking trays, the process is straightforward:
-
Measure the Length and Width: Use your ruler to find the exact dimensions.
-
Add Extra Paper: It’s a good idea to add about an inch to each side to ensure the paper covers the edges. This helps prevent any batter from sticking to the tray sides.
-
Cut the Paper: Use scissors to cut along the marked dimensions.
Round Trays
Cutting baking paper for round trays requires a slightly different approach:
-
Measure the Diameter: Measure the diameter of the tray.
-
Create a Template: Fold a piece of baking paper in half several times until you have a triangle. The point of the triangle should be at the center of the circle.
-
Cut the Circle: Measure from the point to the edge of the paper, marking the radius. Cut along this line to create a circle that fits your round tray.
Specialty Shapes
For specialty-shaped trays, such as heart-shaped or star-shaped pans, the process can be a bit more complex:
-
Trace the Shape: Place the tray upside down on a piece of baking paper and trace around it with a pencil.
-
Cut Carefully: Cut along the traced line, ensuring you leave a little extra paper around the edges.
-
Test Fit: Place the cut paper in the tray to check the fit. Adjust as necessary by trimming any excess.
Tips for Cutting Baking Paper
Here are some useful tips to help you cut baking paper more effectively:
Use a Sharp Scissors
Having a sharp pair of scissors can make the cutting process smoother and more precise. Dull scissors can leave jagged edges, making it harder to fit the paper into the tray.
Mark with a Pencil
When marking your measurements on the baking paper, use a pencil for easy visibility. Avoid using ink pens, as they can bleed through the paper.
Fold for Precision
For round trays, folding the paper can help ensure that you cut an even circle. This technique can also be used for other shapes, allowing you to create symmetrical designs.
Keep Extra Paper
Always have extra baking paper on hand. It’s better to have a little too much than too little, especially when dealing with complex shapes.
Using Pre-Cut Baking Paper
If you find cutting baking paper challenging, consider using pre-cut sheets. These sheets come in various sizes and can save you time and effort. They are available in stores and can fit most standard baking trays.
Benefits of Pre-Cut Baking Paper
-
Convenience: No need to measure or cut, making it easier for quick baking projects.
-
Consistency: Pre-cut sheets ensure uniformity, leading to better baking results.
Storing Baking Paper
Proper storage of baking paper can extend its lifespan and maintain its quality. Here are some tips:
-
Keep It Dry: Store baking paper in a dry place to prevent it from becoming damp.
-
Avoid Direct Sunlight: Exposure to sunlight can degrade the quality of the paper over time.
-
Roll it Up: If you buy baking paper in rolls, ensure you roll it back up tightly after use to prevent it from wrinkling.
Common Mistakes to Avoid
When cutting baking paper, avoid these common mistakes:
Not Measuring Accurately
Accurate measurements are crucial for a good fit. Double-check your dimensions before cutting.
Cutting Too Small
If you cut the paper too small, it won’t cover the tray adequately, leading to sticking. Always leave extra paper around the edges.
Forgetting to Test Fit
Before baking, always test fit the cut paper in the tray. This step allows you to make any necessary adjustments.
Conclusion
Cutting baking paper to fit different baking tray shapes is a valuable skill for any home baker. By understanding the dimensions of your trays and using the right techniques, you can ensure a perfect fit every time. Whether you’re working with rectangular, round, or specialty-shaped trays, the tips and methods outlined in this guide will help you achieve the best results.
Using baking paper not only simplifies your baking process but also enhances your overall experience in the kitchen. With practice, cutting baking paper will become a quick and easy task, allowing you to focus more on creating delicious treats. So next time you’re preparing to bake, remember these tips, and enjoy the process!