


![Building A Digital PR Strategy: 10 Essential Steps for Beginners [With Examples]](https://buzzsumo.com/wp-content/uploads/2023/09/Building-A-Digital-PR-Strategy-10-Essential-Steps-for-Beginners-With-Examples-bblog-masthead.jpg)


![How to Use GA4 to Track Social Media Traffic: 6 Questions, Answers and Insights [VIDEO]](https://www.orbitmedia.com/wp-content/uploads/2023/06/ab-testing.png)


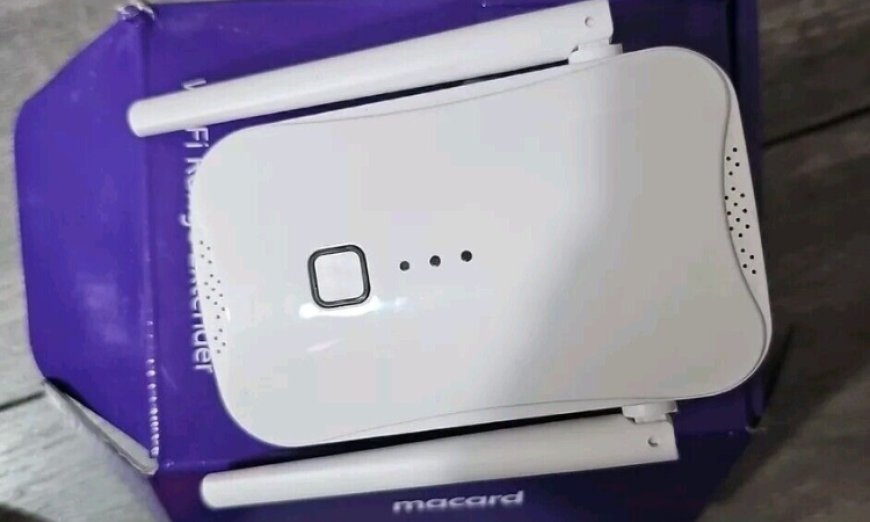
Macard N300 Access Point Setup Made Easy
Learn how to set up your Macard N300 WiFi extender as a reliable wireless access point using a wired connection. This step-by-step guide walks you through the entire process—no confusing tech terms, just clear instructions to help you boost your network coverage quickly and easily.
In this guide, we’ll walk you through everything you need to know to use your Macard N300 extender as a wireless access point step-by-step, no tech jargon, no guesswork. Just clear, real-world instructions to get you connected fast.
Before starting the access point in your Macard WiFi extender setup, if you’ve got the option to run a cable from your main router to where you want better Wi-Fi, using the N300 as an access point is a no-brainer.
What You’ll Need
-
An Ethernet cable (Cat5e or higher)
-
Access to your main router
-
A power outlet near your desired location
Make sure the firmware of the Macard N300 extender is up to date. It usually isn’t a problem out of the box, but it’s always good to check via the admin dashboard.
Step-by-Step: Setting Up Macard N300 as an Access Point
Alright, here’s the step-by-step breakdown to set up your N300 as a wireless access point:
Step 1: Plug It In
Plug your N300 into a power outlet near your main router for now. This just makes the setup process easier. Later, you’ll move it to wherever you need better Wi-Fi coverage.
Step 2: Connect via Ethernet
Take your Ethernet cable and connect one end to the LAN port on your Macard N300. Connect the other end to a LAN port on your router. Yes, LAN to LAN—not WAN. That’s important for this to work in AP mode.
Step 3: Connect to the Extender’s Network
Now grab your laptop or phone and look for a Wi-Fi network called something like “Macard_XXXX”. you’ll see it appear once the extender powers up. Connect to it.
You can also do this using a direct Ethernet connection from your laptop to the Macard N300, which some people find easier if Wi-Fi is acting weird during setup.
Step 4: Log Into the Admin Panel
Open a browser and type in the IP address: 192.168.10.1. Hit Enter. You’ll land on the login page. The default credentials are usually:
-
Username: admin
-
Password: admin
Log in, and you’ll see the dashboard.
Step 5: Change to Access Point Mode
Once inside the admin panel:
-
Go to the Mode or Operation Mode section.
-
Select Access Point (or AP Mode).
-
Save and apply settings.
The extender will reboot. This might take a minute or two.
Step 6: Configure Your New Wi-Fi
After it restarts, go back into the dashboard and set up your new Wi-Fi network:
-
Choose a Network Name (SSID)—something like “Home-AP” so you can tell it apart.
-
Set a strong password.
-
Choose the right encryption method—go with WPA2 if available.
Once saved, the N300 will begin broadcasting your new Wi-Fi signal.
Where to Place It?
Now that it’s set up in AP mode, you can move the N300 to the spot in your home where you need a stronger signal—but keep in mind, it still needs to be wired to the router via Ethernet. If you’re placing it far away, you might need a longer cable or run it through the walls/floor depending on your home layout.
Wherever you install it, make sure it’s:
-
Off the floor
-
Away from thick walls or metal objects
-
In a ventilated area (these devices can get warm)
Quick Troubleshooting Tips
If you hit any snags, don’t panic. Here are a few fixes that solve most setup issues:
-
Can’t access 192.168.10.1?
Try resetting the extender (small pinhole button on the side) and reconnecting. -
No internet from AP?
Double-check your Ethernet connection—make sure it’s firmly connected on both ends and plugged into LAN ports (not WAN). -
Slow speeds?
Consider changing the Wi-Fi channel in settings, especially if you’re in an area with lots of neighboring networks.
Final Thoughts
In this informative article, you have seen why your Orbi satellite not connecting with the router. we have also provided answer to how can you solve this issue with the help of simple to apply solutions (fixes).


